How to Launch Your Travel Writing Career in One Hour (Seriously!)

In one hour, you’ll be official. I promise. Ready to start your travel writing career?
Have you done your soul-searching?
You know why you’re here, how you want to present yourself to the world, and what makes you unique in the sea of travel writers?
Great! Set the timer for an hour. Let’s go!
Minutes 1-10: Write 3 Versions of Your Travel Writing Bio
- First write a simple, one-sentence description. For example:
Gabi Logan is a freelance travel journalist based in New York City who focuses on culture travel.
Here’s a template:
[Name] is a [what type of writing you’re going to do—copywriting, journalist, blogging, etc.] based in [place] who focuses on [what you want to write about primarily—ecotravel, culinary travel, seeing the world through art, etc.].
- Then a sassy, personality-driven, version for social media networks. This is where you show off your writing.
- Finish with the “long version.” This should be no more than one page (250-300 words) or around five paragraphs. This version tells the story of why you want to be a travel writer, the experiences that have transformed you, and what type of writing and geographical areas you want to focus on.
Minute 10: STOP
Seriously. Stop writing. You need to be done now. Fiddle later.
Minutes 10-20: Get and Set Up Your Travel Writing Website
- Go to yourfirstnamelastname.com and see if someone owns it. A page that says something like this will come up if it’s free:
Sorry, we could not find www.calvinapplebottom.com.
It may be unavailable or may not exist. Try using the suggestions or related links below, or search again using our web search.
If not, try www.travelsofyourname.com or www.yournametravelwriting.com or similar variations until you find something that works.
- Buy the domain and hosting. I’m going to talk about how to do this on BlueHost right now, because:
- it’s not spammy
- I’ve used it for ages and know that it works
- it integrates really smoothly with WordPress
- it integrates well with email providers
- Set up WordPress on your new domain. (Directions with screenshots from BlueHost here.)
- Set up a business WordPress template. For free templates, there are dozens and dozens of good choices. I use a template from ThemeForest, Ethority, which is not free, but a great price.
- Set up an email account for yourself. Just do something simple like hello@yourwebsite.com, firstname@yourwebsite.com, or contact@yourwebsite.com. I think the name works best.
Minutes 20-35: Populate Your Website
- Create three pages in addition to the home page. (Or tabs sections if it’s a one-page, responsive, continuous flow template.) Here’s what you need:
- About
- Clips
- Contact
Really, that’s it. People don’t like to click around. You really only need 1-4 pages.
- Populate your about page with a headshot and the long form of your bio.
- Post your clips. If you have already published some pieces online in travel or another type of writing, list them on the clips section with a link to the published piece online and the name of the outlet that published it. Don’t dwell on how to organize them. Just pick a few recent ones or ones you really like. Otherwise, write “coming soon!”
- Make it easy to contact you. Please skip the forms. No one likes to use them. On the contact page, simply write something akin to:
Thanks for stopping by! I’m looking to connect with people for x, y, and z types of travel writing work. [new paragraph] I specialize in _____. Please email me at [your new email address in the “___ [at] ____ [dot] com” format to help ward off spam] if you’d like to discuss how we can work together.
- Also insert a photography page if you also shoot. Add an additional page, gallery-style if possible, and upload eight of your favorite photos that you’ve taken.
Minutes 35-45: Coordinate Your Social Media
- Cover your bases. Though there are trillions of social media networks out there right now, focus on the biggest, most important ones for travel writers, and get the same user name on each. Aim for something related to your name, not your blog if you have one. Set up matching accounts on:
- Add your sassy social media bio and headshot to each.
- Link all your new accounts for easy updating. Use a social media management program that will allow you to update all accounts from the same place, such as Hootsuite, Buffer, or, my favorite, the amazing Edgar.
Minutes 45-60: Get professional
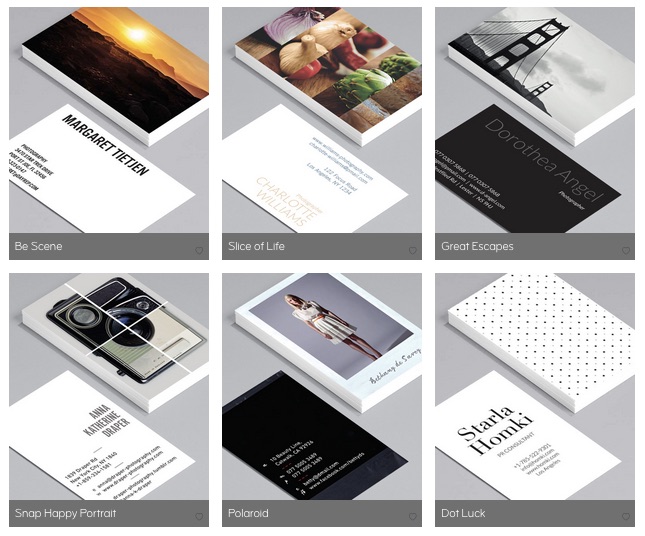
- Order business cards. Make sure to include your name, new title, new website, and twitter on one side and a stunning travel photo that you took or that encapsulates your style on the other side. Vistaprint is a fast and cheap option. Moo is the industry standard and comes with beautiful templates to get the job done fast…but look like you agonized over every last design detail.
- Make it official. Update your job title on Facebook and LinkedIn with your new travel title. Add the long version of your bio to your about section (if you don’t have another job) or the about section in the LinkedIn section for this specific job if you have another job that you need to keep the main about section focused on.
That’s it! Congratulations!